
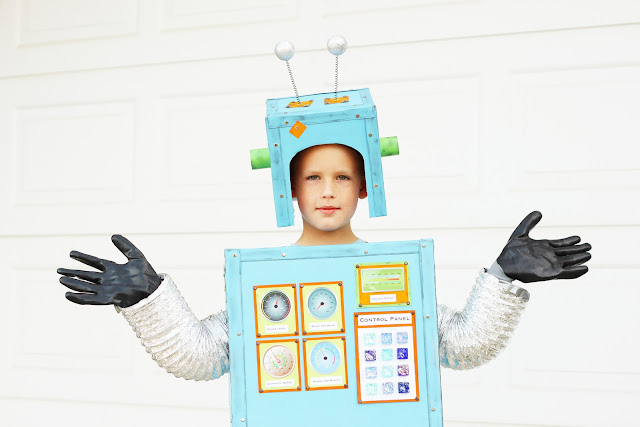
My big plan for this homemade robot costume was just to paint a box. But Shaggy brought home a bunch of shiny blue posterboard. Which made the whole project take longer and, well, look way cooler.
So, without killing you with the details, here is what we did.
We found a box more or less the right size and shape and cut out the bottom and arm and head holes. Then we traced the box sides on the posterboard and cut it out so we could glue it on. That was the part that added all the time--waiting for the glue to dry.
Once it was dry, I cut strips and added some metal brads to look like rivets and smeared on some metallic rub to give it a more vintage look (I got mine years ago at a ceramic shop). Then we folded the strips over the edges and hot glued them in place.
The helmet was made from a Costco cereal box cut to the right shape. We added styrofoam to the sides to help it fit a little more snugly.
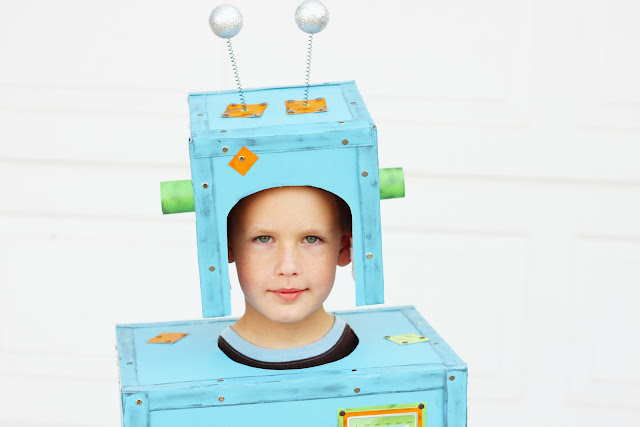
The colorful patches on the costume are just paint chips that I stole borrowed from Home Depot. I really did need 10 of the exact same shade of orange to help me with my home decorating decisions. Really. I also added brads and metallic rub to the patches. I wanted the whole robot to have a fun/whimsical look to it. The ears are also paint chips--cut, rolled and hot glued in place. The antannaes are from one of those cheap headbands from a party store. We just disassembled it and stuck them through the helmet.

Notice the nice toddler teeth marks on the styrofoam ball on the left. Yes, baby B was really drawn to this costume. I couldn't resist putting an out of order kill switch on the back of the helmet. Just seemed so fitting somehow for my mile-a-minute boy.
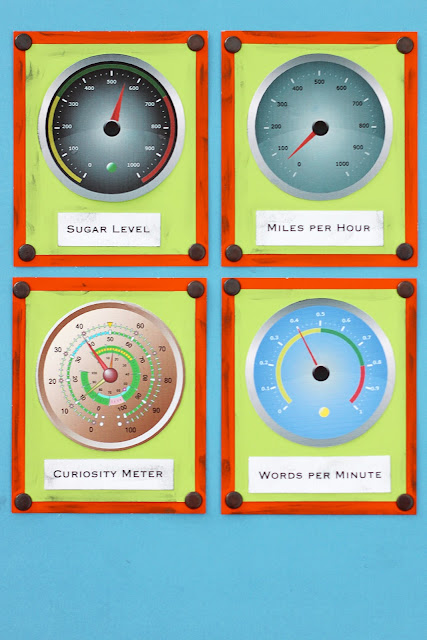
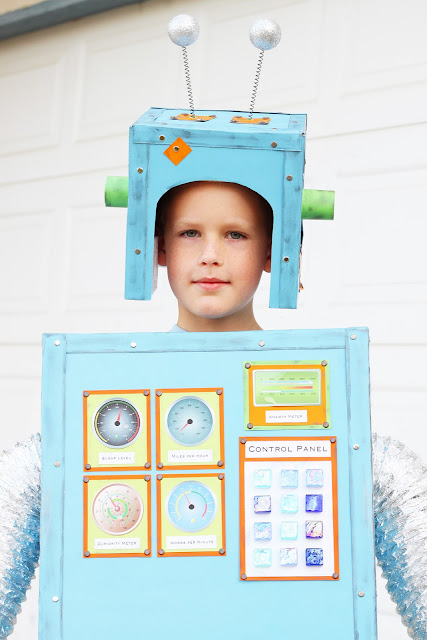
I downloaded some images of guages from the internet and thought up some appropriate names for them. Sugar level, of course, is directly related to miles per hour. And the curiosity meter gives you an idea of how many words per minute to expect. I printed them on plain paper, cut them out and double matted them with paint chips, adding brads and metallic rub to complete the look. Never thought I'd be scrapbooking a costume, but that's essentially what I did.
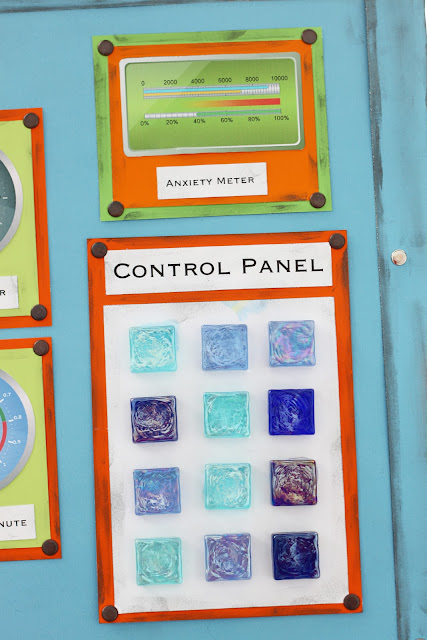
J also needed to have an anxiety meter. Something complicated and inexplicable. Just like his anxieties. And no robot would be complete without a control panel. The blue squares are glass tiles from Home Depot. I didn't borrow those, just so you know. I am not a chronic shoplifter.
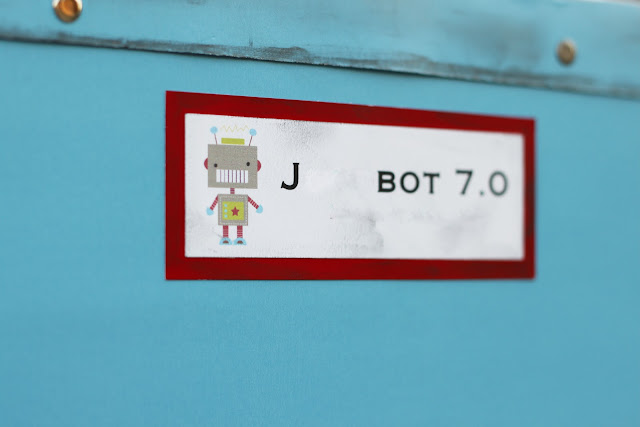
I added this little tag on the back, sort of like the model number. Underneath, it had our last name and then industries. But as I was erasing our last name, I noticed that I had spelled industries wrong, so I just erased the whole thing. Anyway, you get the idea. The little bot graphic is from designer digitals. I used those a lot for the robot birthday party we had a few weeks after halloween. Love that site!


No comments:
Post a Comment